While exploring the letter I in my Froggie Friends classroom, we knew we had to celebrate ice cream! I found this lovely idea on Pinterest, inspired by
Teach Preschool, and we, of course, had to make it our own. :)
To prepare, I gathered some necessary supplies and some extra fun ones, too. You'll need:
Paper- Card Stock Weight
Shaving Cream
Elmer's Glue
Different Colors of Paint
Mixing Cups (we used tossable punch cups)
Stir Sticks (popsicle sticks worked very nicely)
Brown Paper Grocery Sack
Scissors
Pencil
Ruler
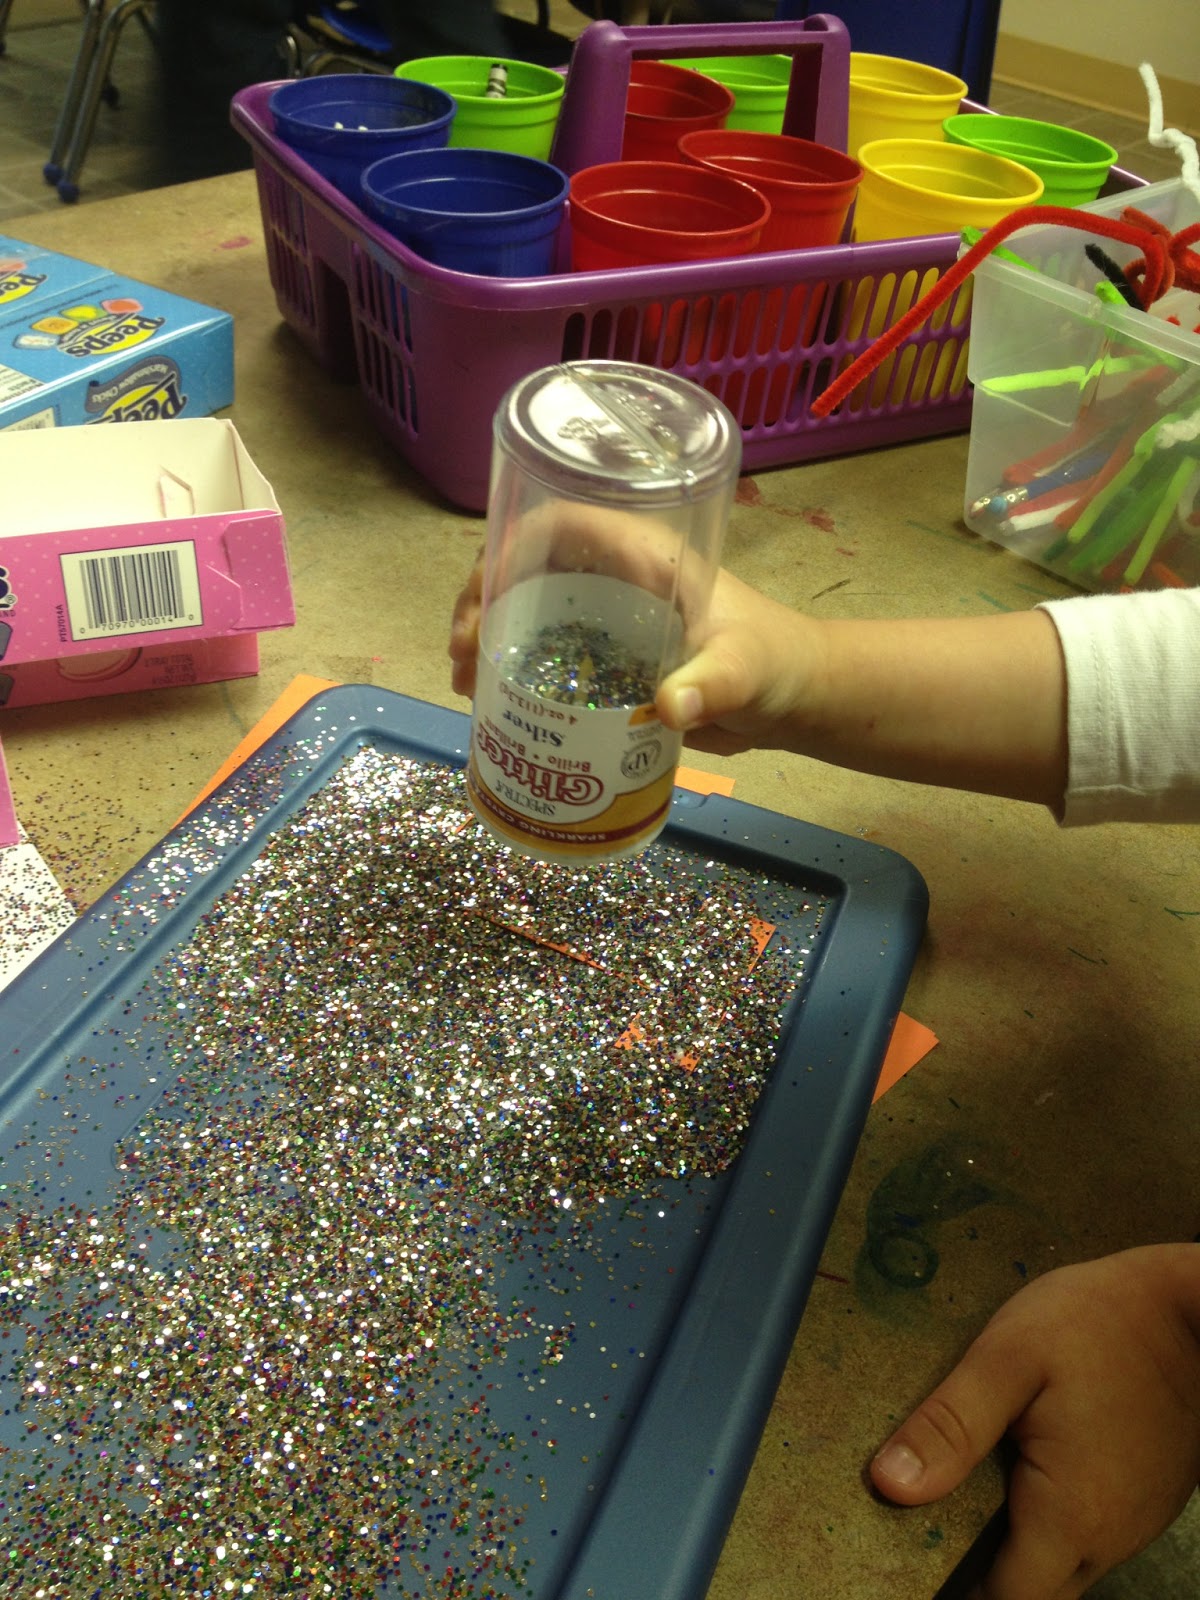
Sprinkles
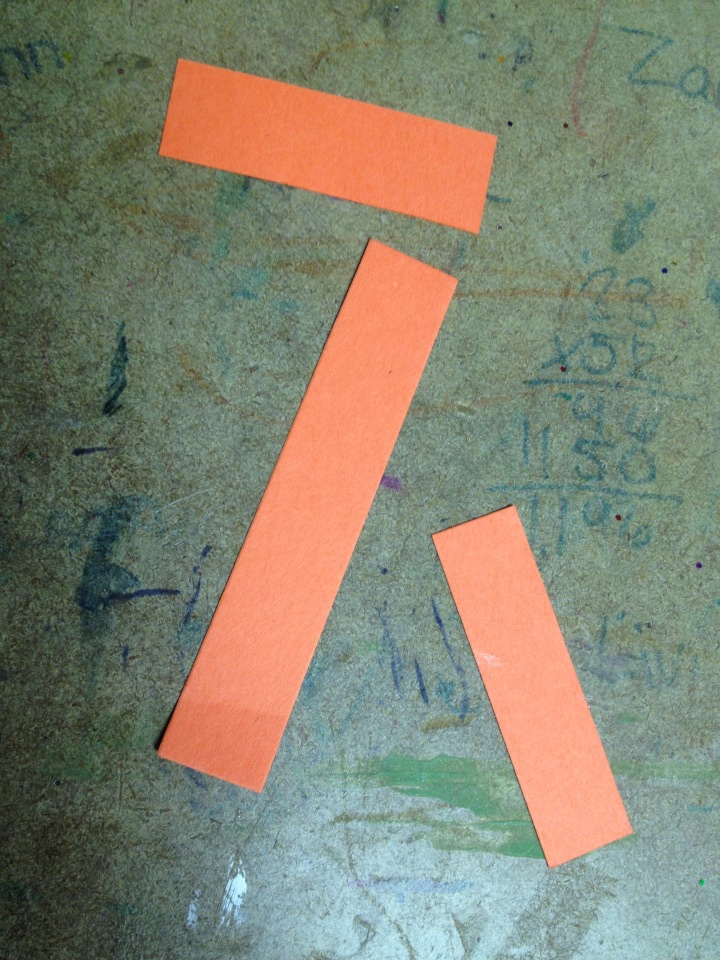
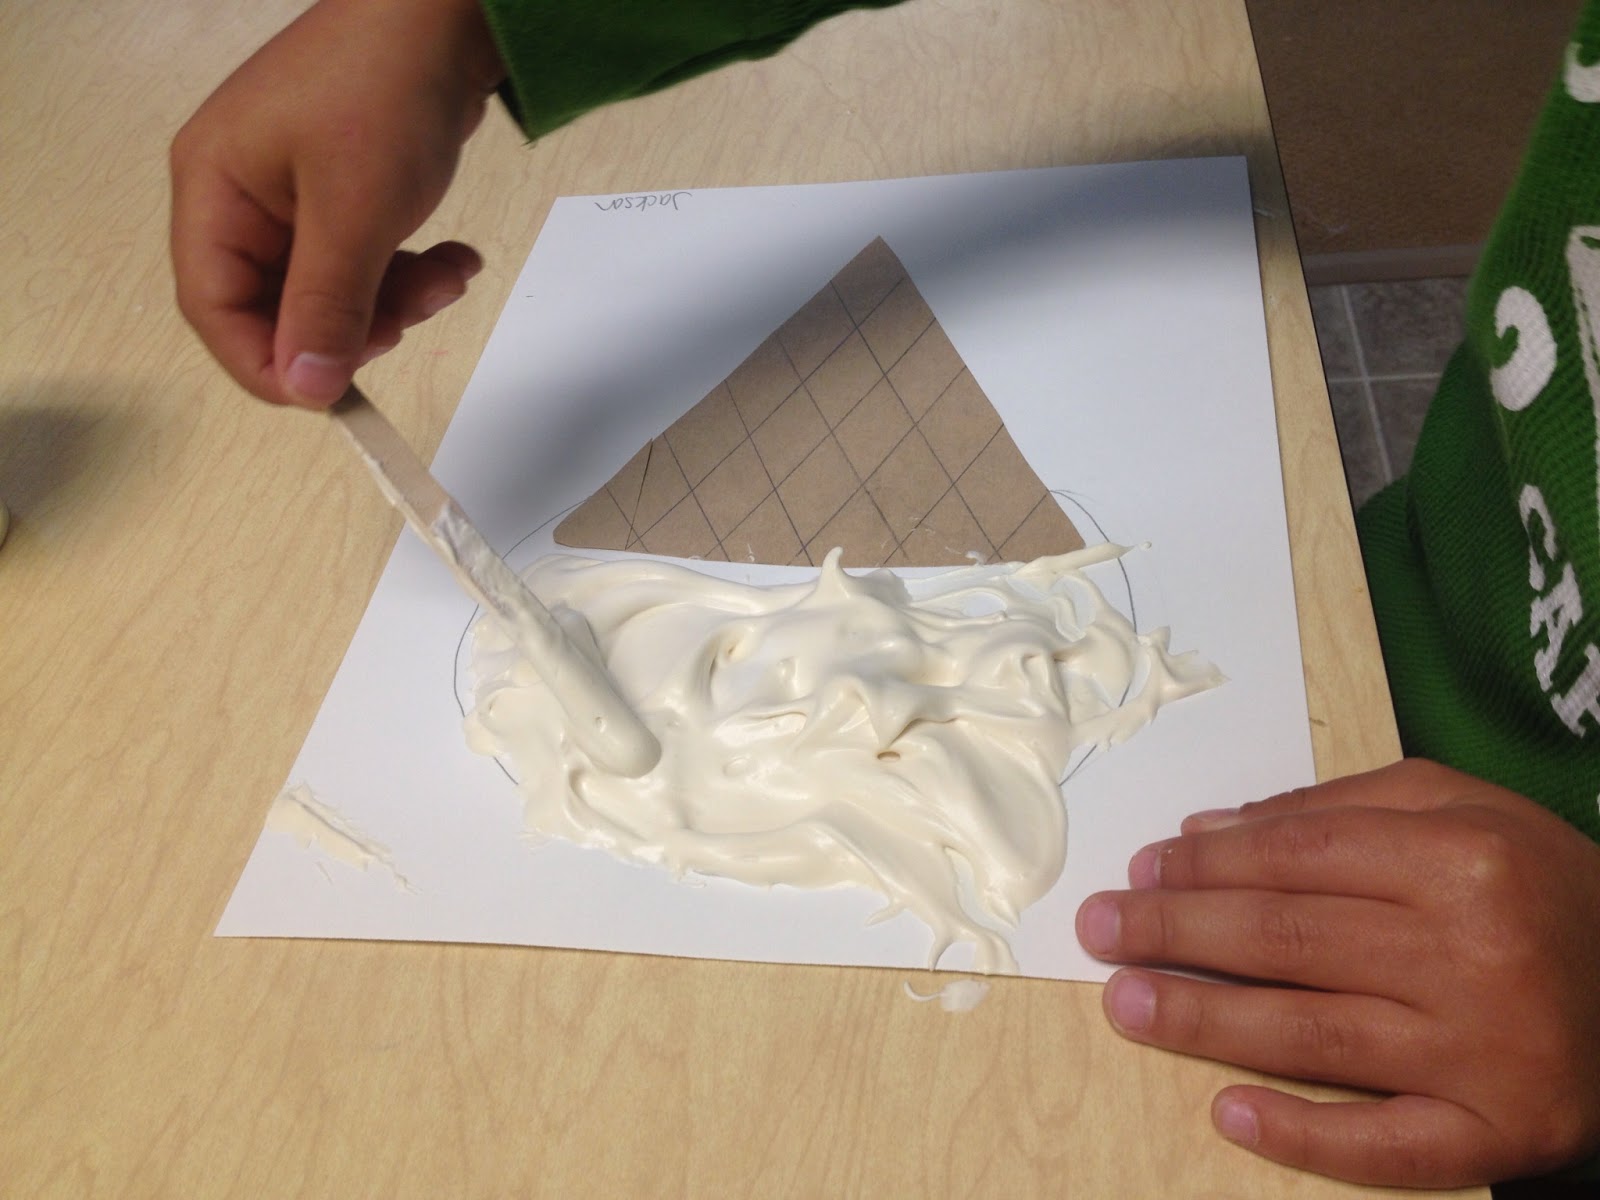
I created the cones ahead of time, drawing the cone shapes onto the brown paper sack, cutting them out, then using the ruler and pencil to draw the waffle lines on them. I glued a cone to each piece of card stock, and lightly drew an ice cream shape on top for the children to use as a "target" once they got their hands dirty.
We decided to work in groups of 3-4 so that I could give the children a little more attention. Some of my groups were able to work more independently, while others needed a little more help. It is important to stress to ALL of them that this is not real ice cream, then monitor their acceptance of that truth closely. After distributing the empty punch cups, I allowed each child a chance to try squirting the shaving cream into the cup. Most of them struggled with this, so I stepped in to help. I added Elmer's glue, guessing on an appropriate amount. I read that this is flexible but a 1/2 and 1/2 ratio has been successful. We just poured it on in and it worked out just fine.
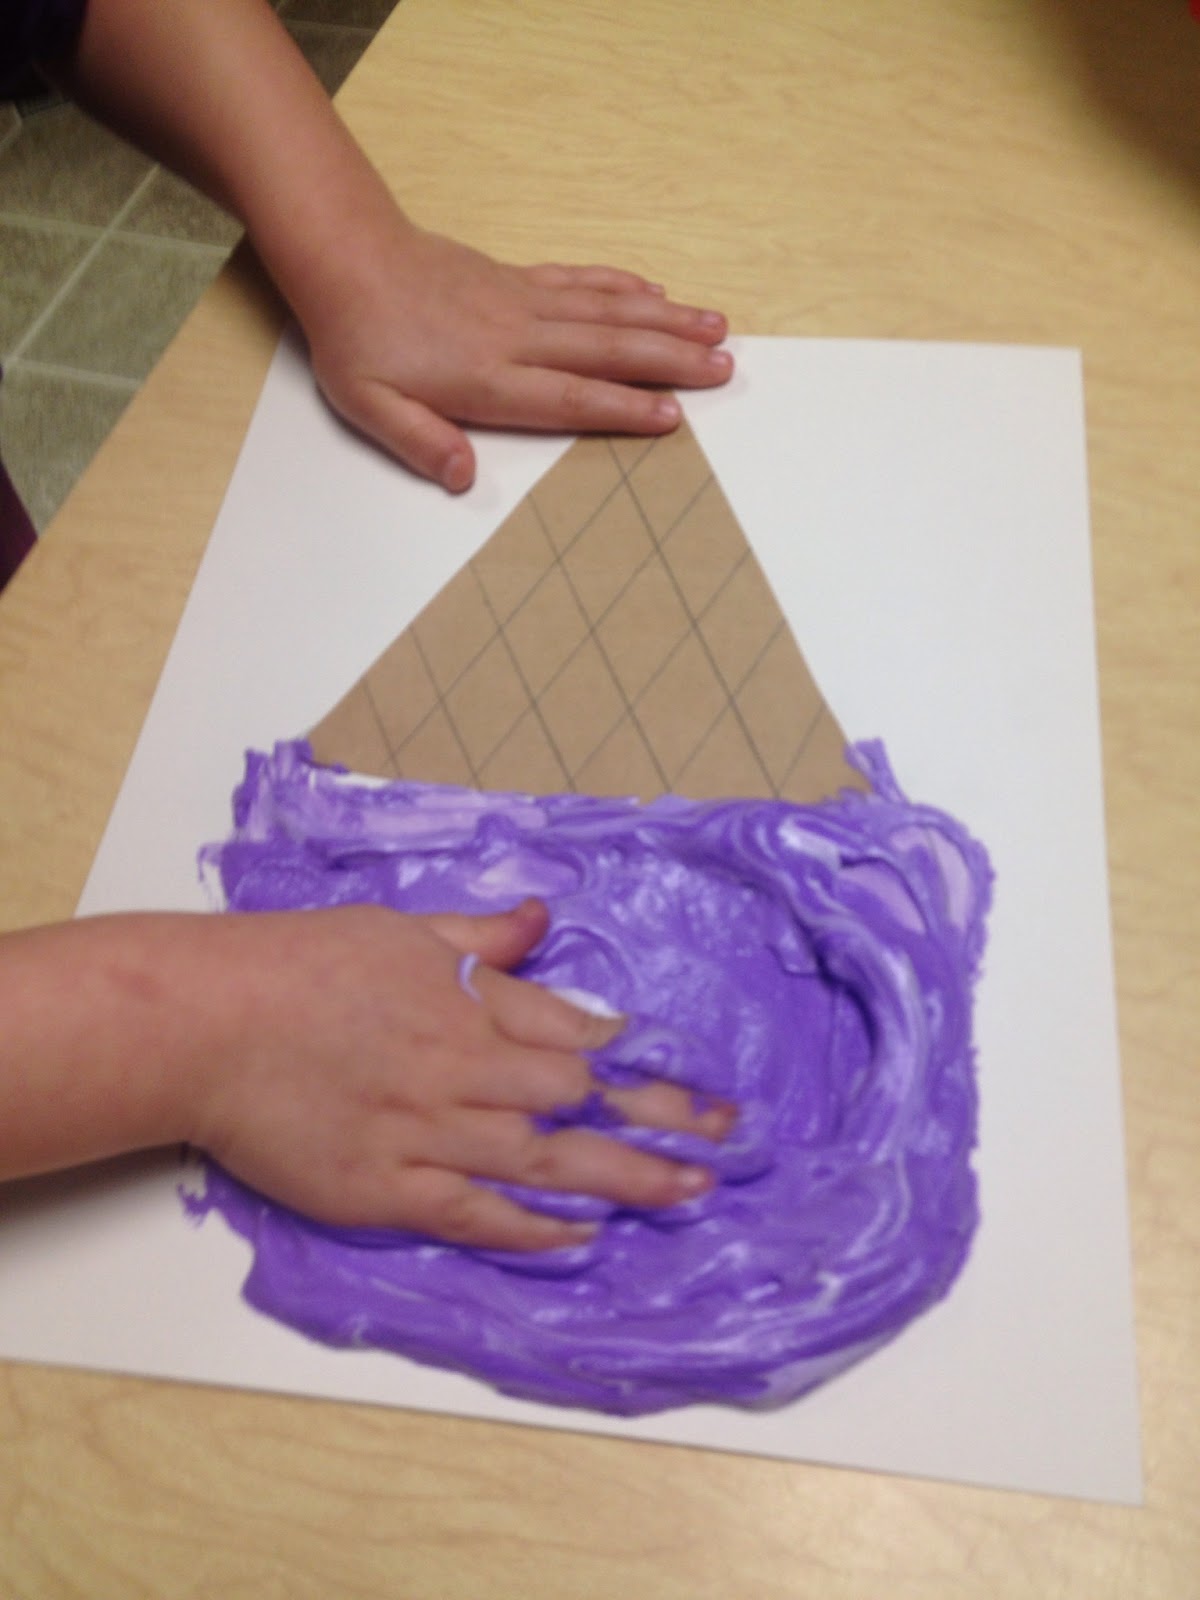
Each child selected a color to represent a "flavor" of ice cream. We ended up with an assortment of French Vanilla, Bubble Gum, Grape, Chocolate, Lime Sherbert, Blueberry, & Mint. We started small, adding in additional color if needed. We wanted to keep it creamy looking.
The children were able to mix the elements with the popsicle stick Once thoroughly mixed, they were able to use their sticks to spoon the"ice cream" onto their papers.
They had different ideas from there about the best way to spread it around. Some of them loved getting their hands dirty! This mixture has a unique puffy texture that can be fun to squish between your fingers (if you're into that sort of thing!)
Then, of course, a few of them thought that a combo-method was the way to go!
Any way you spread it, they loved it! Then, as I begain to set the first sets off to dry, it occured to me that something was missing... Sprinkles! We had some on hand, and my Froggie Friends were very excited as they completed their cones!
In our case, we left them overnight to dry. We found that this was the art project that keeps on giving as they discovered how soft and puffy the ice cream was to the touch after drying. This was one project they were super-excited to take home!


.jpg)